How to Declutter Your Home: A Simple Room-by-Room Plan
Decluttering feels overwhelming when you look at the whole house at once. The trick is to break it into small, finished wins. This plan uses short sessions, a simple sorting system and a room order that builds momentum, so you see progress from the very first day.
Fifteen minutes a day, done consistently, will clear most homes in a few weeks.
Before you start: the four-box method
Set up four boxes or bags, and put every item you pick up into one of them:
-
Keep: you use it regularly or truly love it.
-
Donate: it is in good condition, but you do not need it.
-
Sell: it has real value and you are willing to list it within a week.
-
Trash or recycle: it is broken, expired or worn out.
Do not create a “maybe” box. Maybes become new clutter. If you truly cannot decide, put the item in the keep box and ask the questions below again next season.
Be honest about the sell box. Selling takes time: photos, listings, messages and meetups. If an item is worth less than about the price of a takeout meal, donating it is usually the better use of your time.
Rules that keep you going
-
Work in 15-minute sessions. Short sessions prevent decision fatigue.
-
Finish one small area at a time, such as a single drawer or shelf, before moving on.
-
Take donations out the same day. A donation bag left in the hallway tends to get unpacked again. Keep the bags in your car and drop them off on your next errand.
-
Do not buy storage first. Declutter, then decide what storage you actually need.
Questions to ask about each item
-
Have I used this in the past 12 months?
-
Would I buy it again today?
-
Do I have more than one that does the same job?
-
Am I keeping it out of guilt, or because it is useful?
A sample 15-minute session
Here is what one session looks like in practice. Set a timer. Empty one kitchen drawer onto the counter. Wipe the drawer out. Pick up each item and drop it into one of the four boxes. Put the keep items back, with the ones you use most at the front. Carry the trash to the bin and the donations to the car. When the timer goes off, stop, even if you feel like doing more. Ending while it feels easy makes it likelier you will come back tomorrow.
The room-by-room order
Start where decisions are easy and finish with the hardest areas.
1. Bathroom
Throw away expired cosmetics, sunscreen past its date, half-empty bottles you never use and old towels (animal shelters often accept towels). For medicine, the safest route is a drug take-back program, and many pharmacies have drop-off boxes. If none is available, follow the disposal directions on the label or from the FDA. Keep only what fits comfortably in your cabinets, and see our guide to under-sink organization for the space that remains.
2. Kitchen
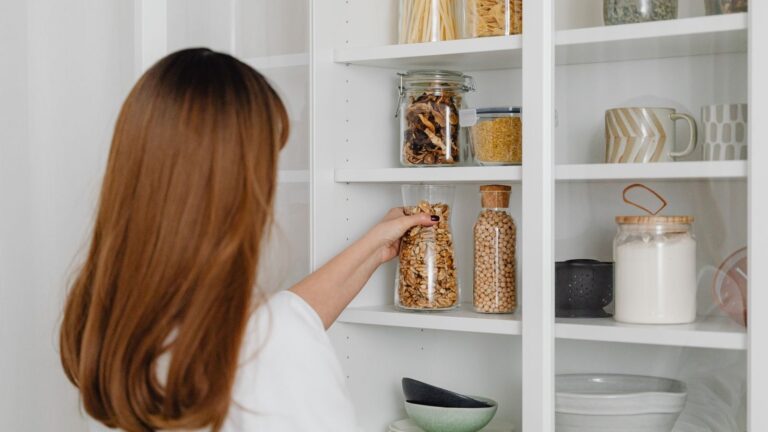
Remove duplicate utensils, chipped mugs, gadgets you never use and expired food. A good test: put every utensil from a crowded drawer into a box, and return each one only when you actually use it. After a month, donate what is still in the box. Keep everyday items within easy reach and store rarely used ones higher up.
3. Living room
Clear surfaces first: coffee table, side tables and shelves. Decide on a home for remotes, chargers and magazines.
4. Bedroom and closet
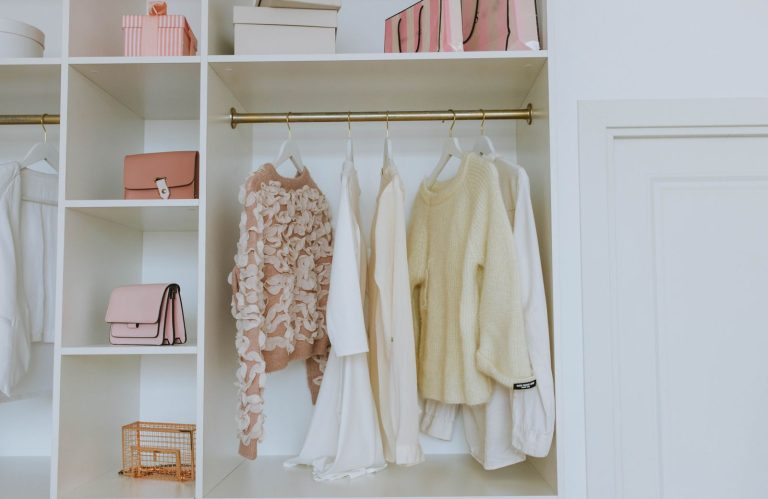
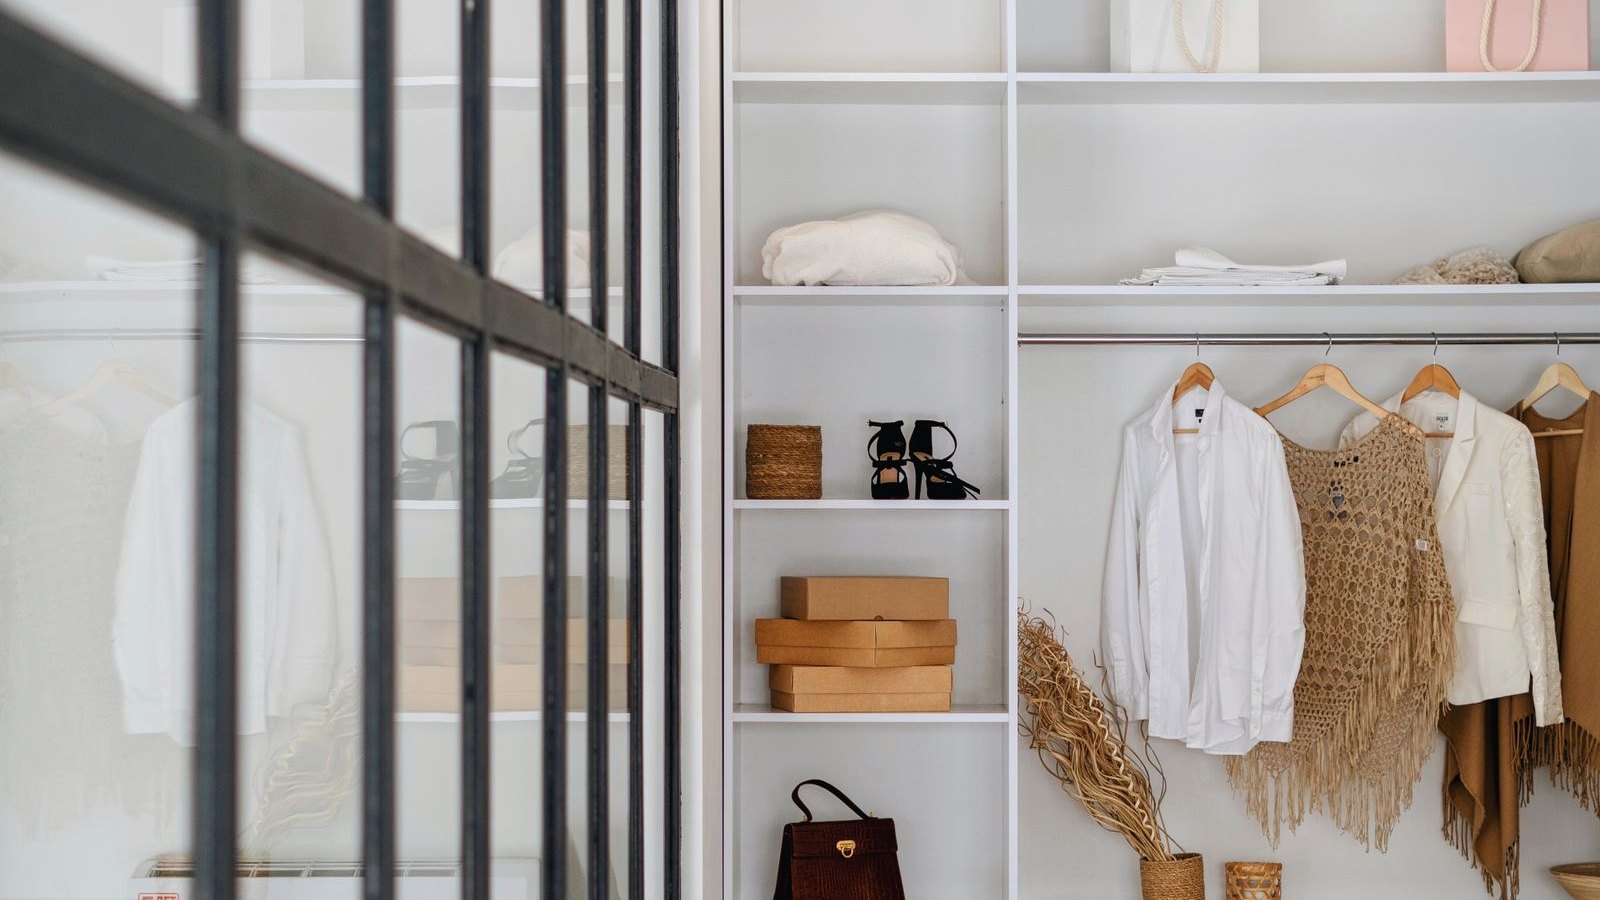
Take everything out of one section of the closet at a time. Donate clothes that do not fit, that you have not worn in a year or that need repairs you will never make. A useful trick: turn all hangers backwards, and after you wear something, hang it the right way. After six months you will see what you never wear. For tight spaces, see our guide to organizing a small closet.
5. Paperwork
Shred what you no longer need, scan what you want to keep digitally and file the rest. Keep important documents, such as birth certificates, passports, property records and insurance policies, in one safe place. For tax records, the IRS generally recommends keeping supporting documents for at least three years after filing, and longer in some situations, so check its guidance before you shred. Shred anything with account numbers or personal details rather than recycling it whole.
6. Sentimental items (last)
Leave these until the end, when your decision-making muscles are strong. Keep the items that matter most, and consider photographing the rest before letting them go. Displaying a few favorites often makes it easier to let the rest go.
Common problems and fixes
-
“I might need it someday.” Ask what it would cost to replace and how often that has actually happened. For cheap, easy-to-find items, the space is usually worth more than the item.
-
“It was expensive.” The money is already spent. Keeping something unused does not get it back, but selling or donating it can give it a second life.
-
“It was a gift.” The gift did its job when it was given. You can thank the person and still pass the item on.
-
Family members resist. Declutter only your own things and shared spaces first. Visible results tend to persuade people better than arguments.
-
The house looks worse halfway through. That is normal. Keep sessions small and always finish one area before starting another, so you never have several rooms torn apart at once.
Keeping clutter from coming back
-
One in, one out: when something new comes in, something old goes out.
-
Give everything a home. Clutter grows where items have no set place.
-
Do a 10-minute reset each evening.
-
Schedule a mini declutter every season.
FAQ
How long does it take to declutter a whole house?
With 15-minute daily sessions, most homes take a few weeks to a couple of months. The time depends on the size of the home and how much there is to sort.
Where should I start if I feel completely overwhelmed?
Start with one drawer or one shelf in the bathroom. It is small, the decisions are easy and you will finish in one session. That quick win makes the next session easier.
Should I declutter before or after organizing?
Before. Organizing items you do not need just makes neat clutter. Once you have decided what to keep, you will know what storage you really need.
What should I do with items that cannot be donated?
Many cities accept electronics, batteries and paint at special recycling drop-offs. Check your local waste program for what it accepts and how.
Quick recap
-
Sort with four boxes: keep, donate, sell, trash.
-
Work in 15-minute sessions and finish one small area at a time.
-
Go from easy rooms to hard ones, and save sentimental items for last.
-
Take donations out the same day.
-
Use “one in, one out” to stay clutter-free.